
A Hands On, Practical Guide to Making Tiles That Last
Recently, I was in the fortunate position of having to make a new prototype for Agents in Time, having sent the old one off to a publisher for appraisal following a successful pitch. So, I thought I’d share one aspect of that side of things with you by talking you through how I made some decent, hard-wearing replacement tiles on thick card stock…
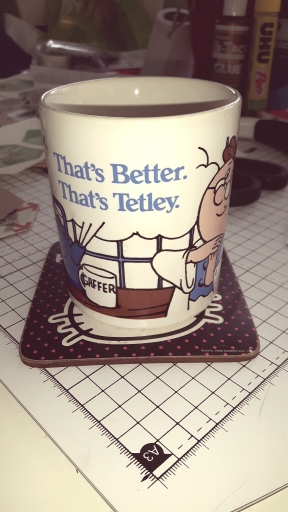
Like any project, you’ll probably be wanting a good-sized mug of your favourite brew before you get properly started…
Once that’s in place, you’ll also need a small selection of useful handi-craft type stuff.
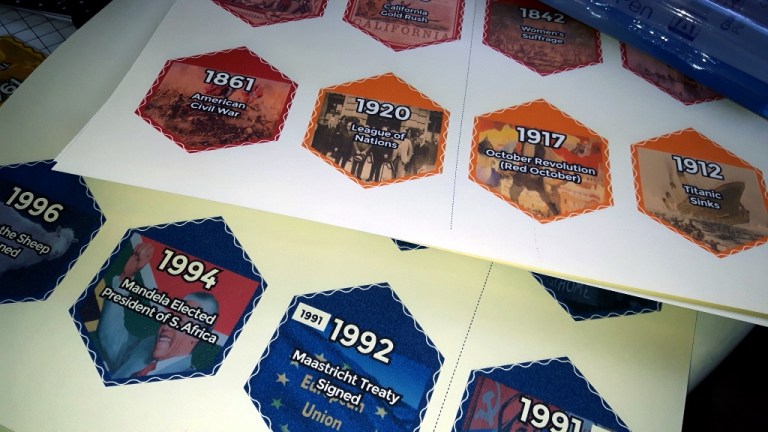
For the ‘Timespot Tiles’ in Agents in Time, we need the original tile sheets (printed on A4 card, as seen in the top image of this article), and the following rather useful extras:
— relatively weak, paper-style glue
— much stronger, extra sticky glue
— thick, cardboard stock
— a couple of pairs of decent, sharp scissors
— a rotary cutter (incl. spare blades)
— a large cutting mat (pref. self-repairing)
— some clear, self-adhesive film
— a bright, well-lit table/space to work in
— some spare time
— reasonable patience

The original tile sheets, incidentally, are printed on 160gsm thin card — I like to use this because it’s heavy enough to have a bit of solidity, but thin enough to be used in place of standard paper with my inkjet printer without causing any hardware spasms.
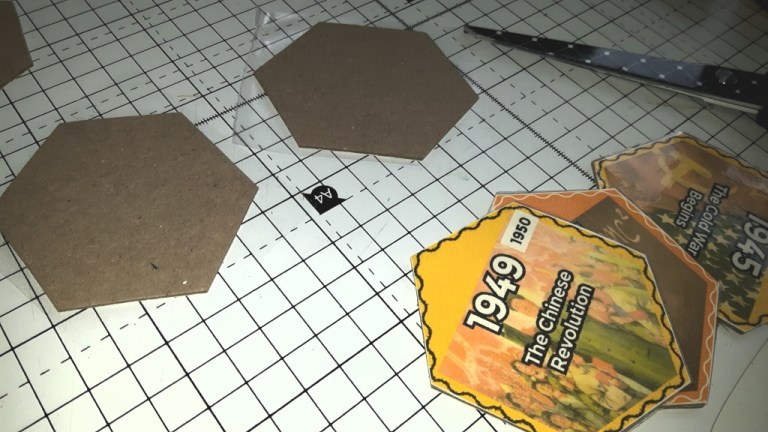
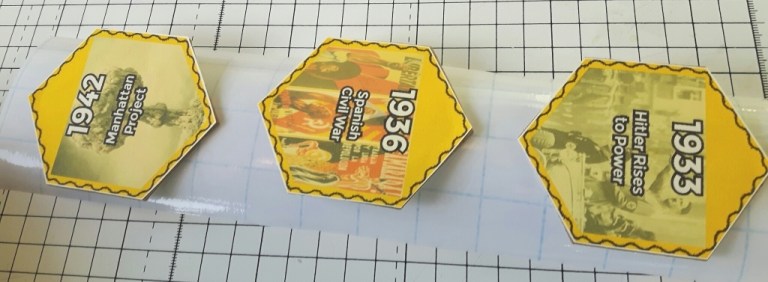
The individual tiles on these sheets are then cut out and glued or pasted onto one side of the thicker cardboard stock, before being cut into more manageable strips…

Once you’re confident these are stuck properly to the card and reasonably dry, you can begin cutting out the individual tiles, leaving a small border area (1-2mm) to help clean up any alignment issues we might run into later on.
To give these cardboard tiles a bit more strength, I use the self-adhesive film and cut out a small piece just large enough to allow the complete covering of the tile. Peeling the film takes practice and can be an exercise in itself, especially if you’ve no fingernails to speak of. A handy hint is to warm one of the corners up by either rubbing it vigorously between your finger and thumb, or just holding it close to the bulb/lamp for a few seconds.
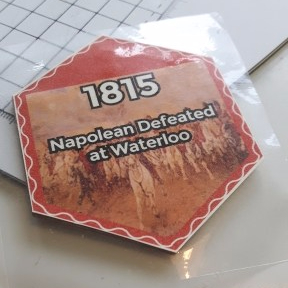 Once the film is peeled, you want to stick it on the tile as square and flat as you can, and a good habit to get into is to always smooth the film starting from the centre of the tile and working outwards. In this way, you can clear out any small air bubbles that may have crept in, and will hopefully have the beginnings of a decent-looking tile to play with. As an added bonus, the clear film often disguises the odd dodgy smudged graphic and gives the tile a pleasant sheen, too, which is rather nice!
To finish this part off, you’ll need to turn the tile over (blank side and sticky film side up) and use scissors to make clean, sharp cuts around the tile, using the card as a kind of pivot by setting your scissor blades against it at approx 30-45 degree angle:
 At this point, you should finally have the first half of a decent-looking tile, and be at least a wee bit excited that we’re nearly done. Hoorah!
Finally, we need to cut out the flip side of the tile and paste that onto the other side:


Once that’s done we repeat the procedure above and apply clear adhesive film to the flip side, too. At which point, you’ll hopefully end up with something half-way decent, as promised! And that’s it!


This is the method I used to do our Timespots for Agents in Time, and not only do they look really good, but provided you’ve stuck them to the card properly in the first place (and taken a bit of care to cut them neatly), these tiles will give months of trouble-free playtesting sessions, and are hardy enough to survive the rigours of both time and plenty of handling.
If you’ve found this article useful, please Like and Share it. And I always appreciate any comments you may have, if you’re so inclined. Thanks!
